 Sideway
BICK BLOG from Sideway
Sideway
BICK BLOG from Sideway
|
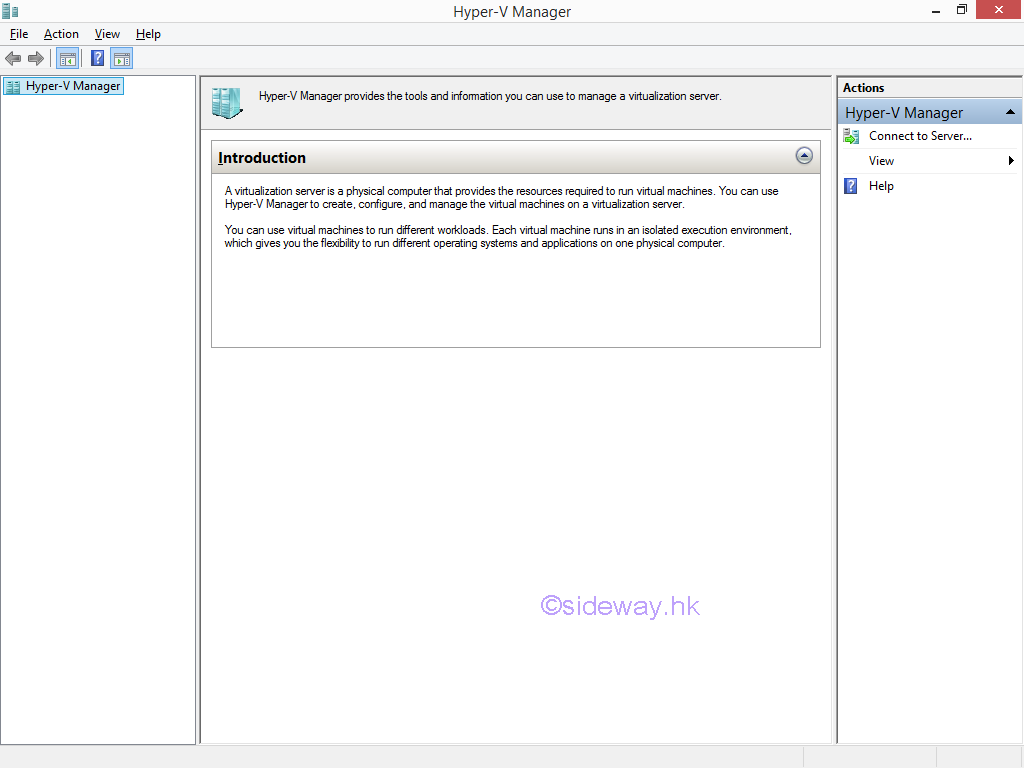
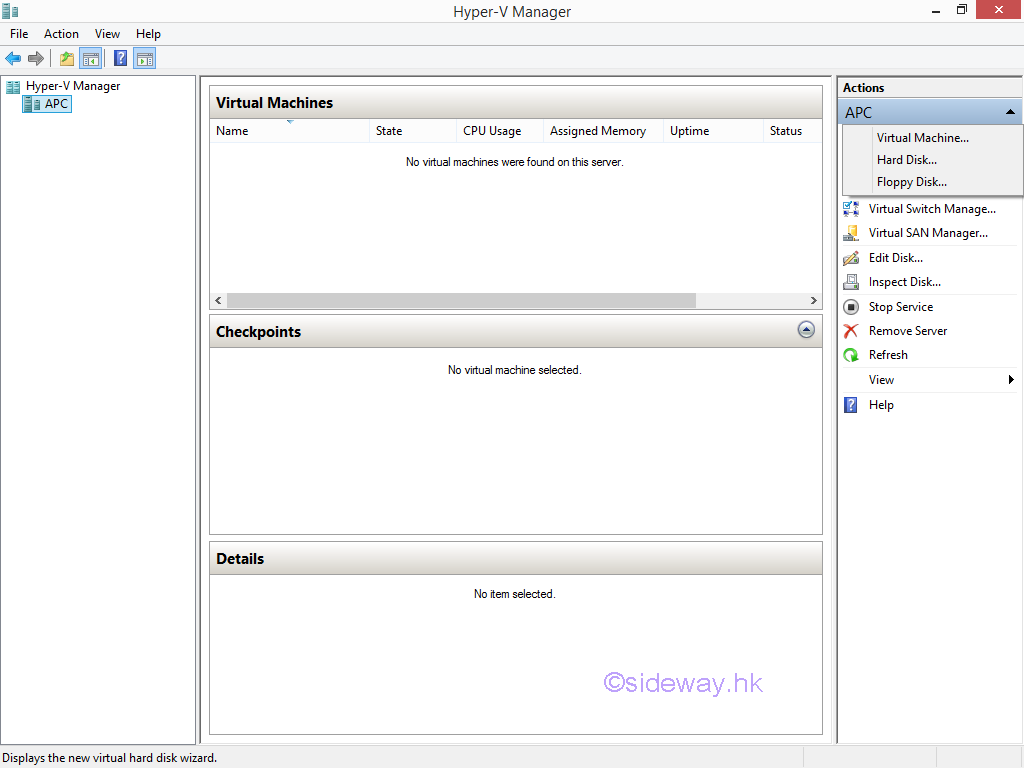
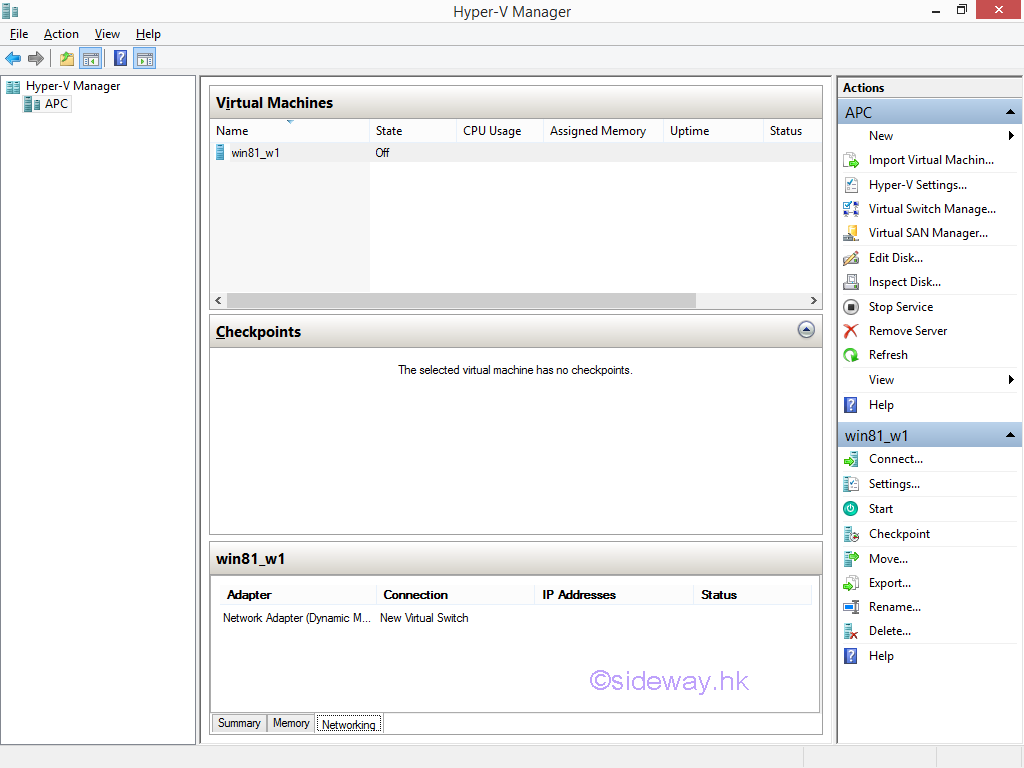
Link:http://output.to/sideway/default.asp?qno=170300009 Windows 8.1 Knowledge Base Hyper-V Manager Add New Virtual Machine Hyper-V Manager Add New Virtual MachineThere are a few ways to add a new virtual machine to the Hyper-V host through Hyper-V Manager. Open the Hyper-V ManagerSteps to open the Hyper-V Manager on local computer. 
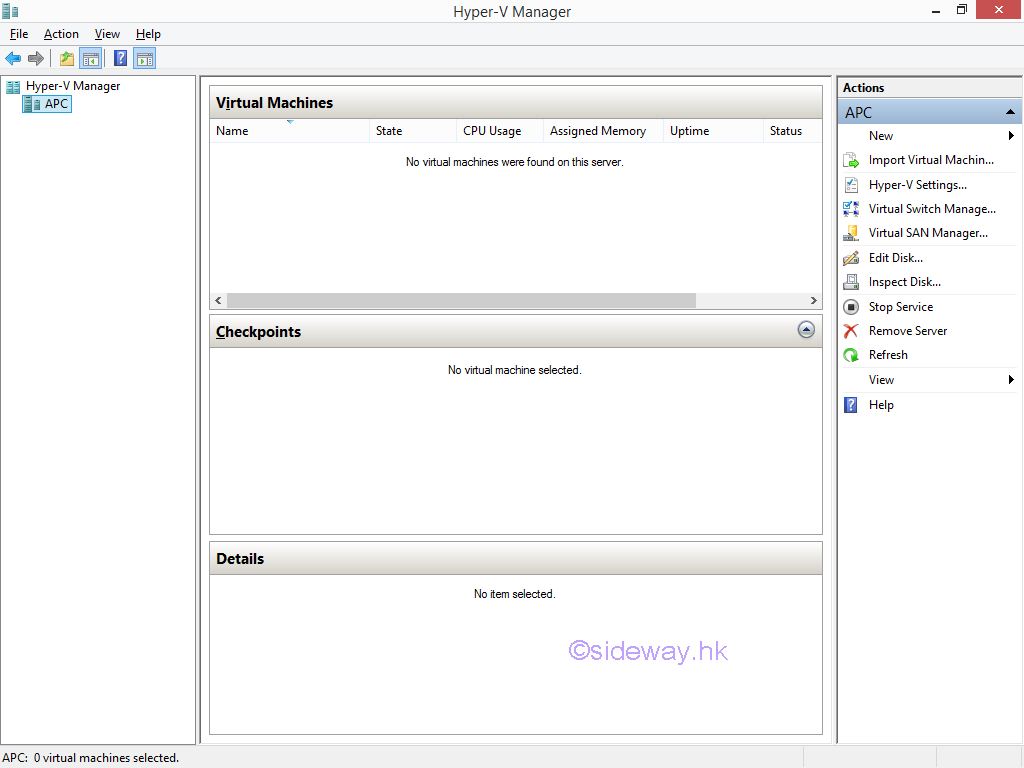
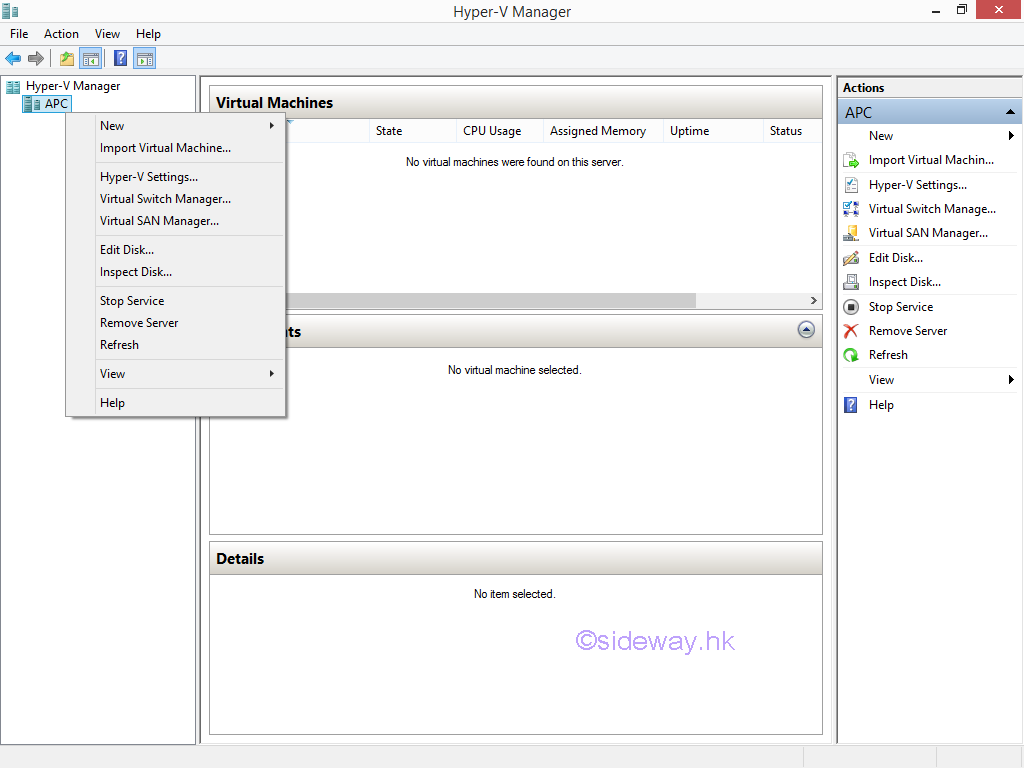
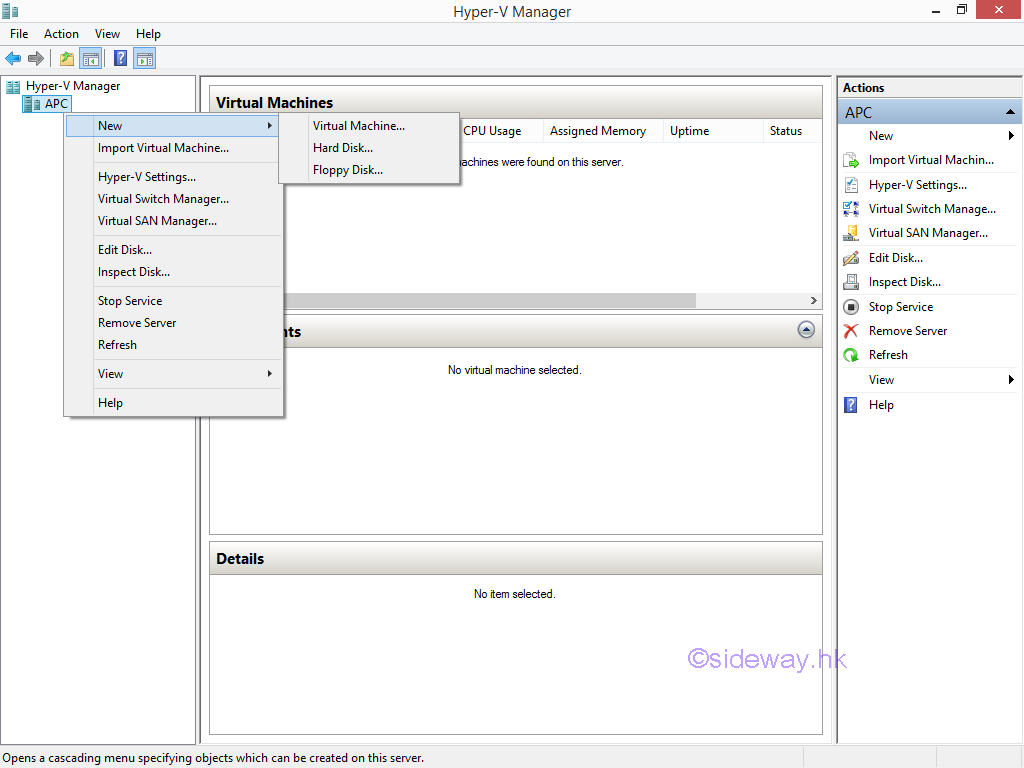
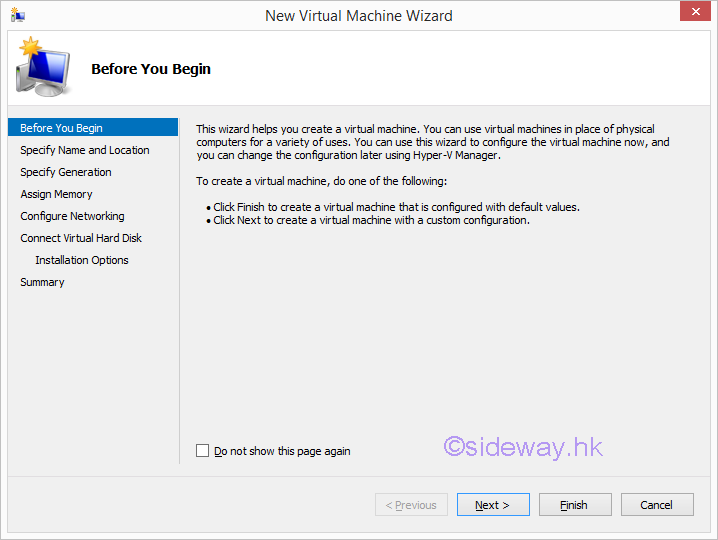
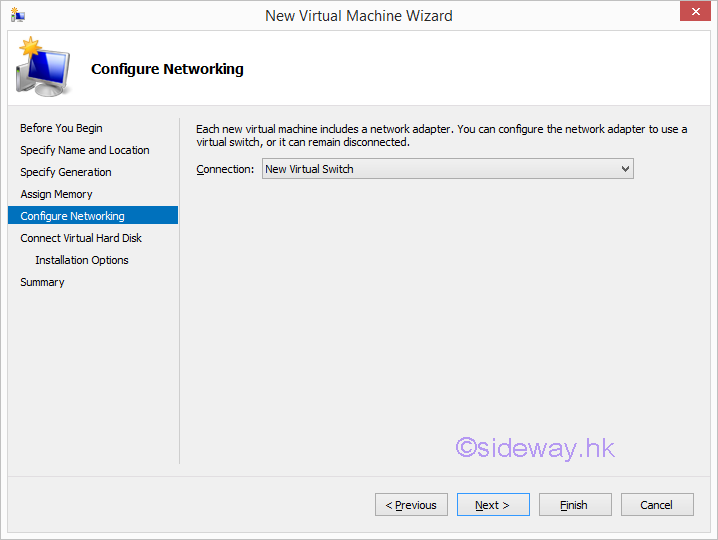
Add a Virtual Machine to Hyper-V hostMethods of adding a virtual machine to hyper-v host.
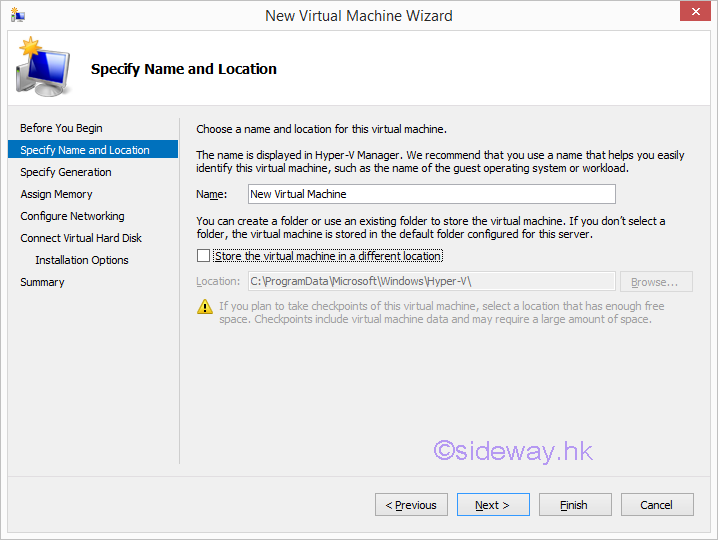
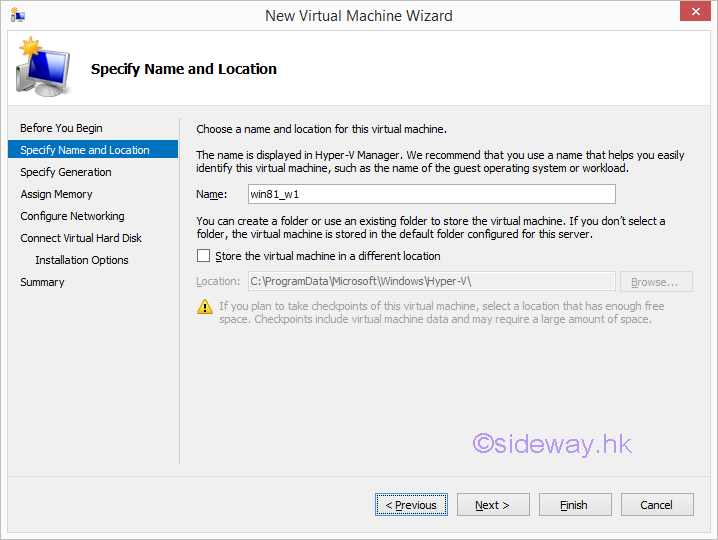
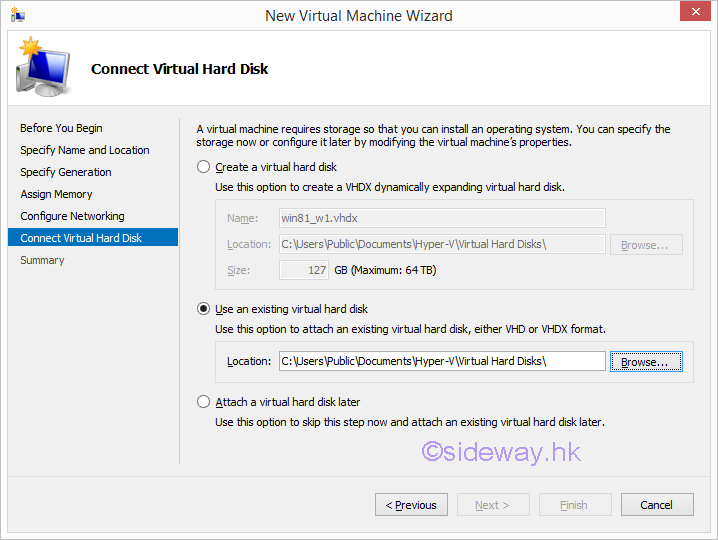
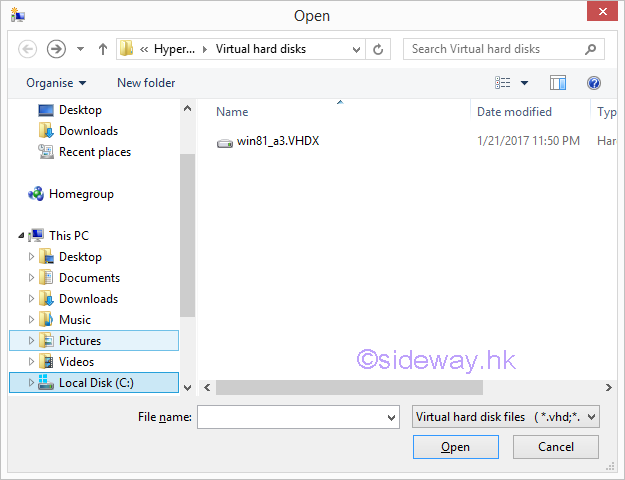
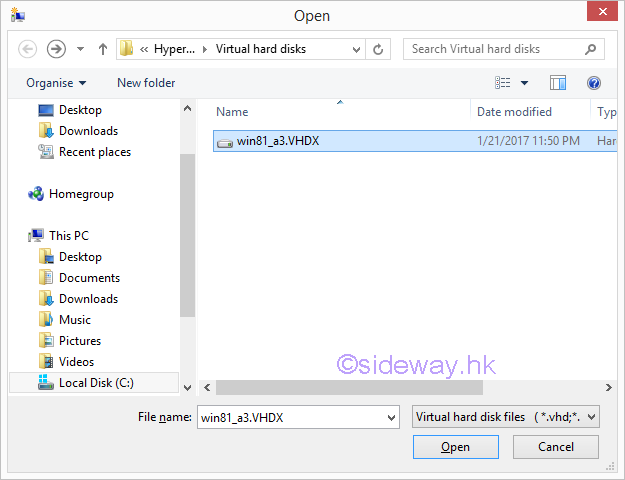
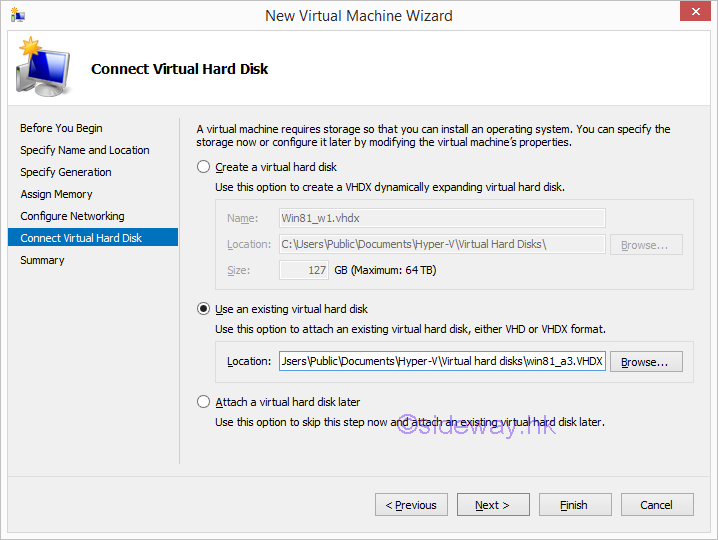
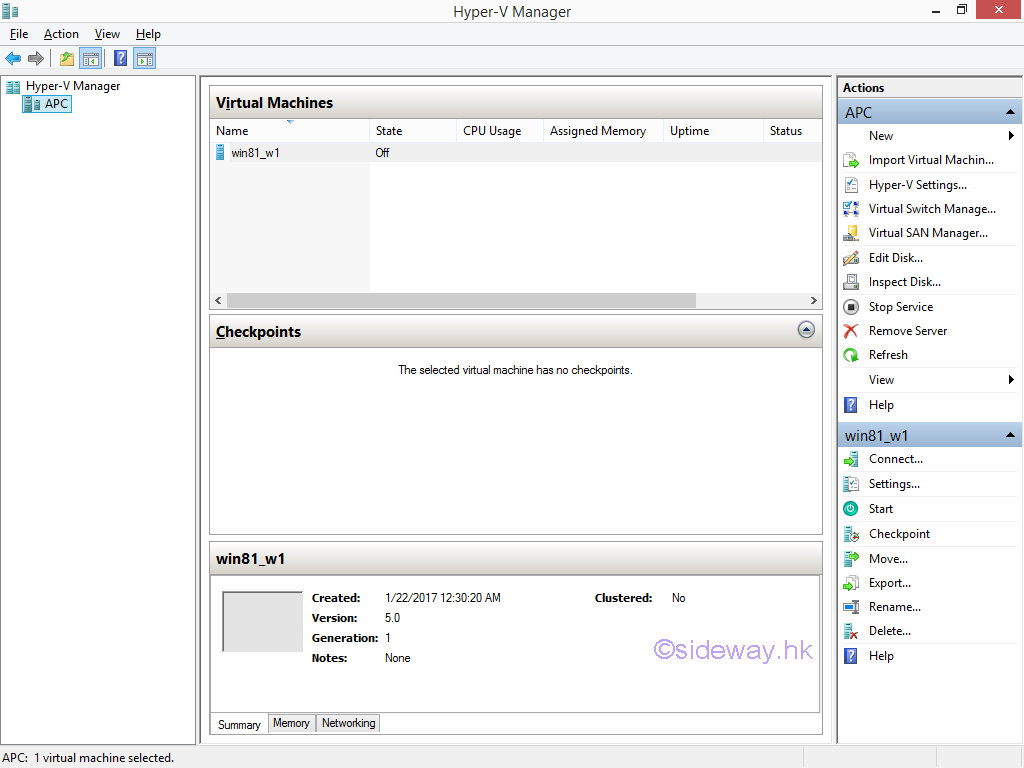
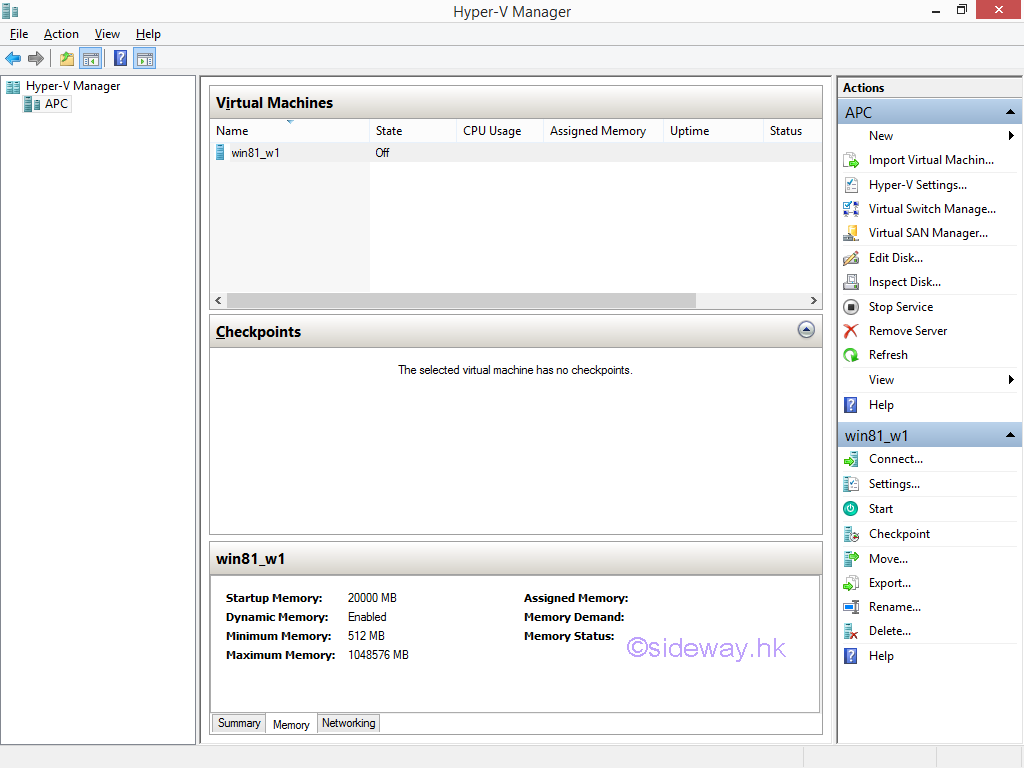
Add a Customized Virtual Machine to Hyper-V Host with an Existing VHD OptionSteps to add a customized virtual machine to Hyper-V host with an existing VHD option.
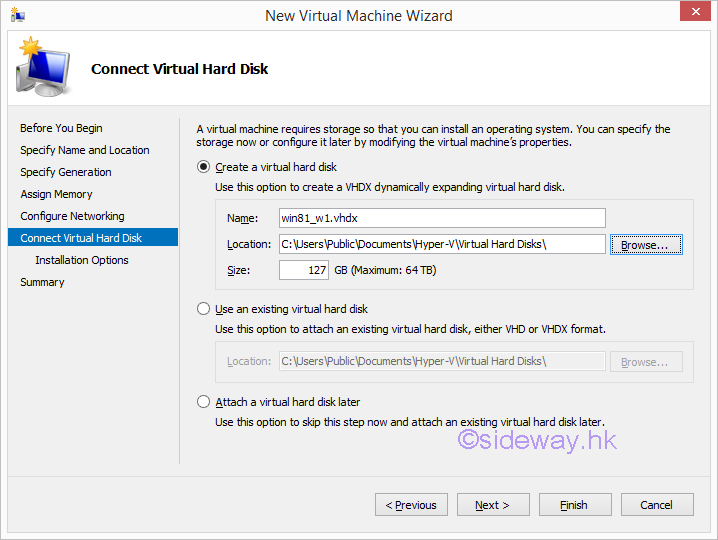
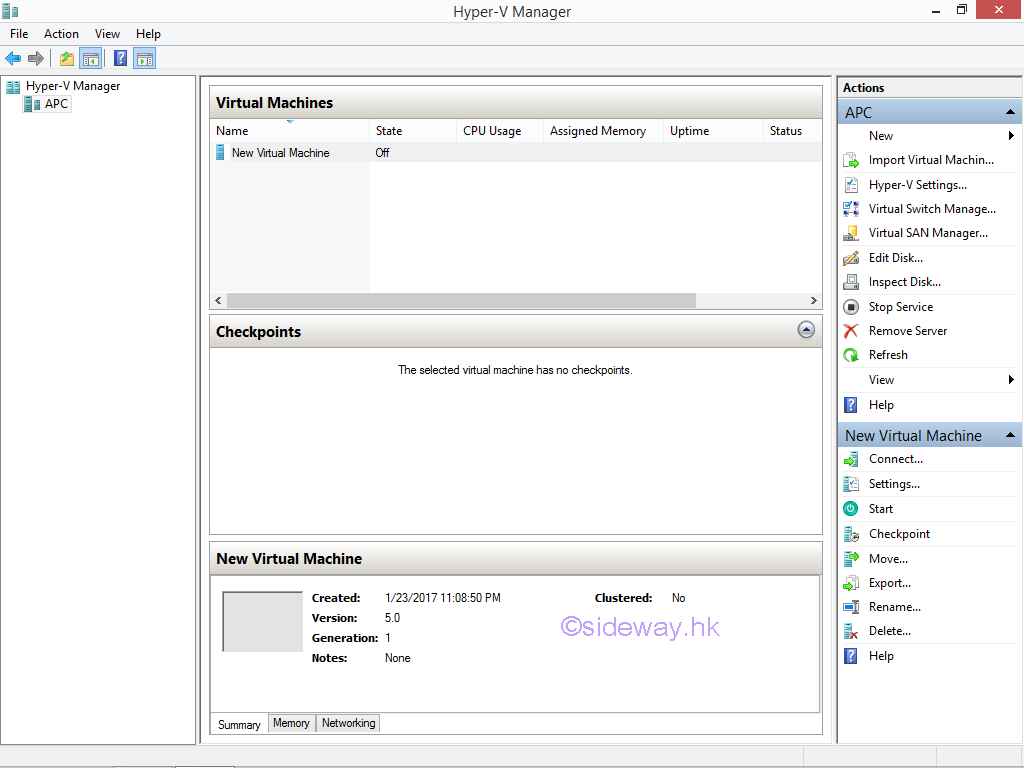
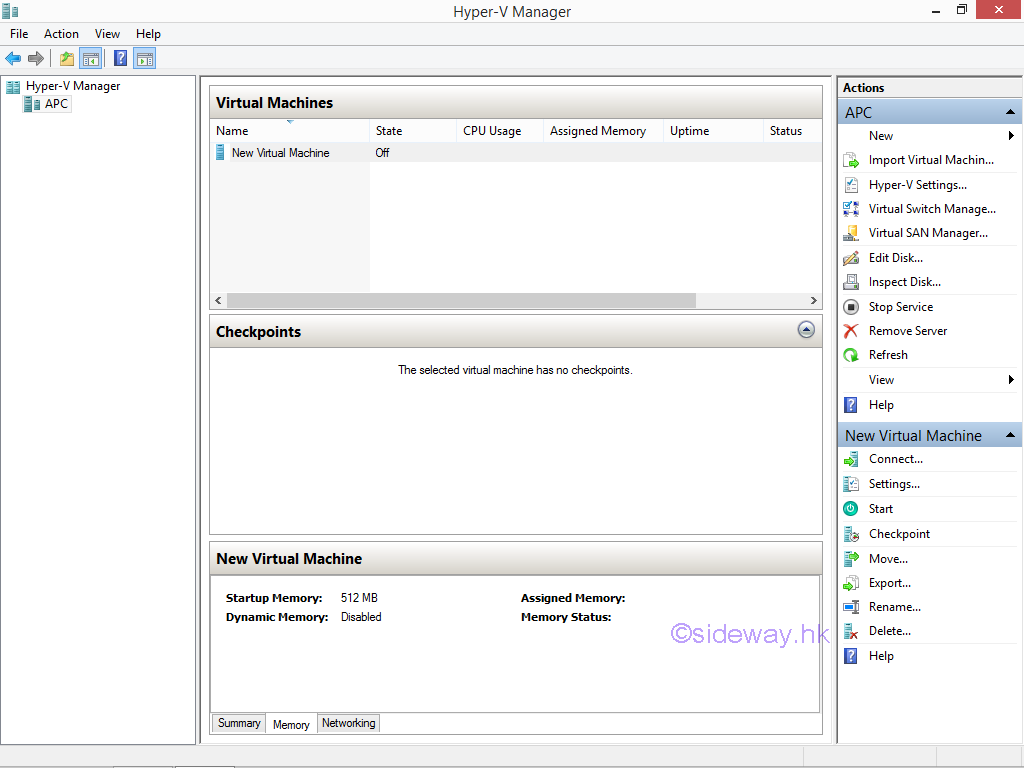
Add a Default Virtual Machine to Hyper-V Host with a Default Empty VHD OptionSteps to add a new default virtual machine, VM to a Hyper-V host with a default empty VHD option.
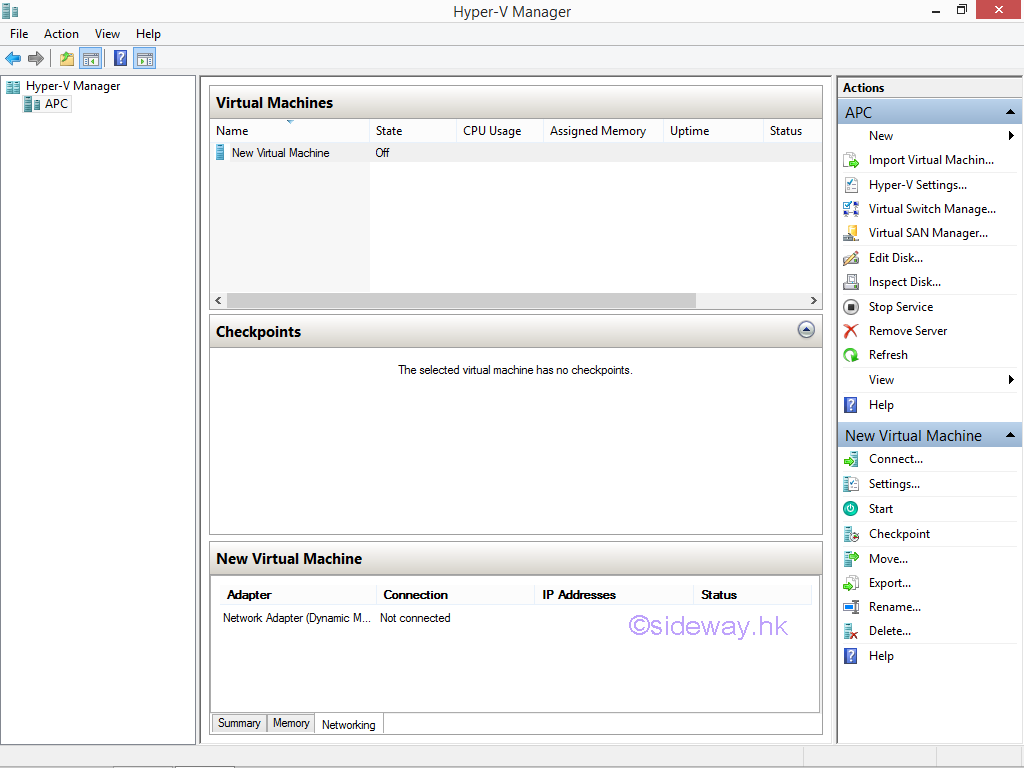
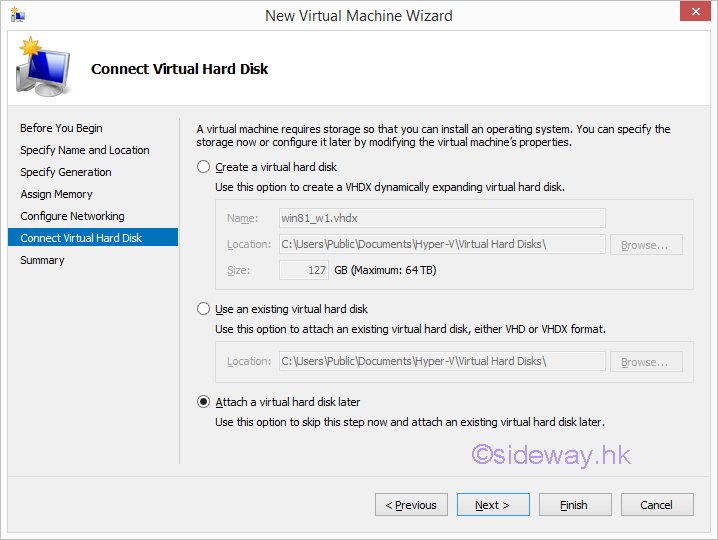
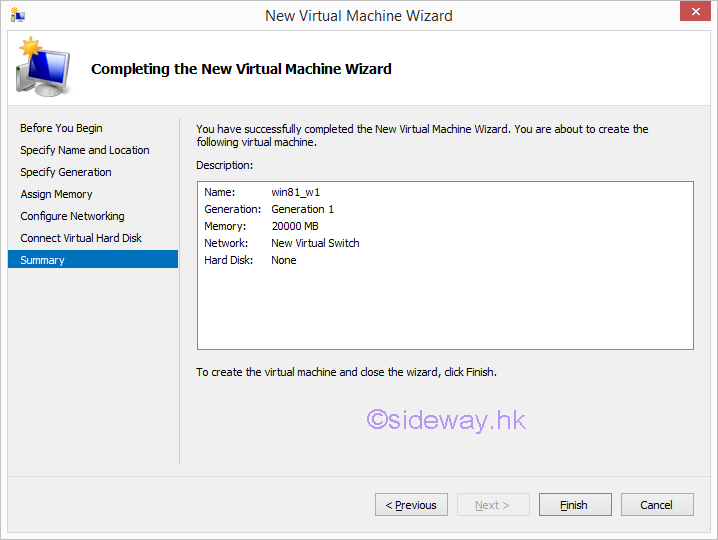
Add a Customized Virtual Machine to Hyper-V Host with No Attached VHD OptionSteps to add a new virtual machine, VM to a Hyper-V host with no attched VHD option.
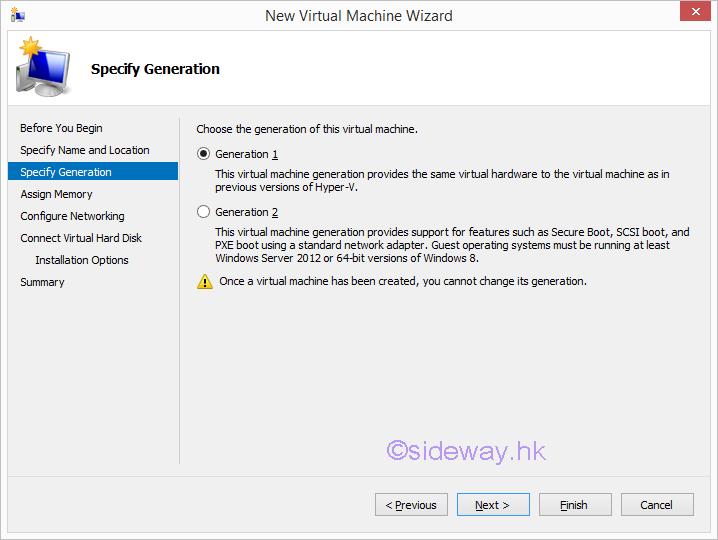
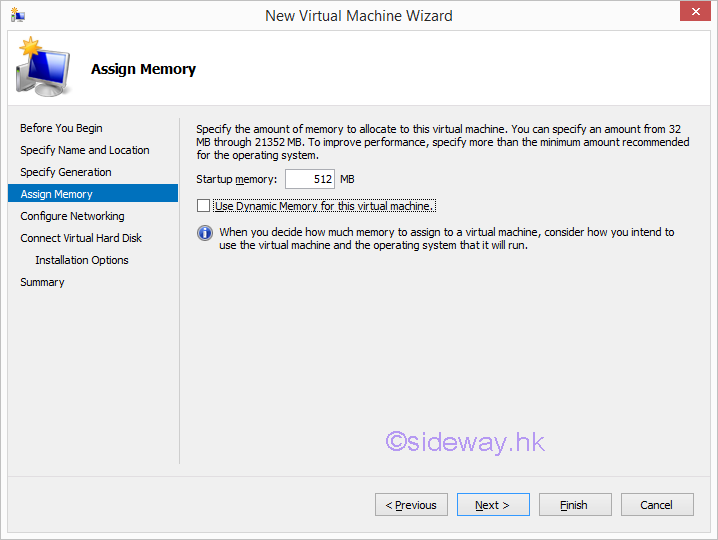
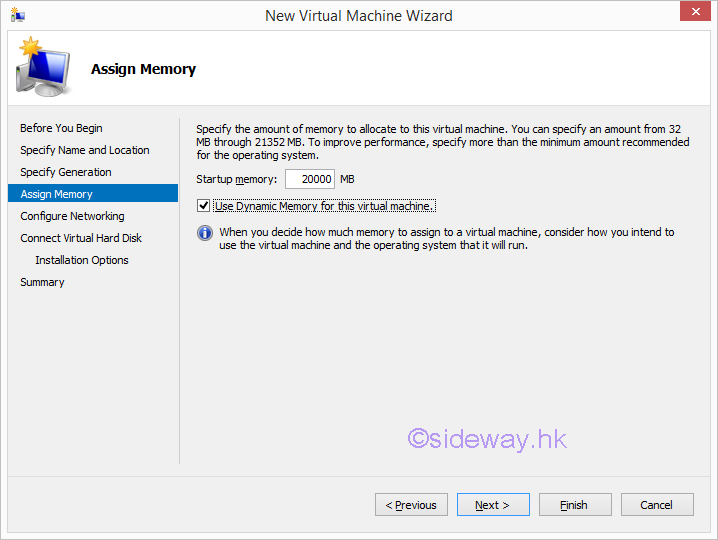
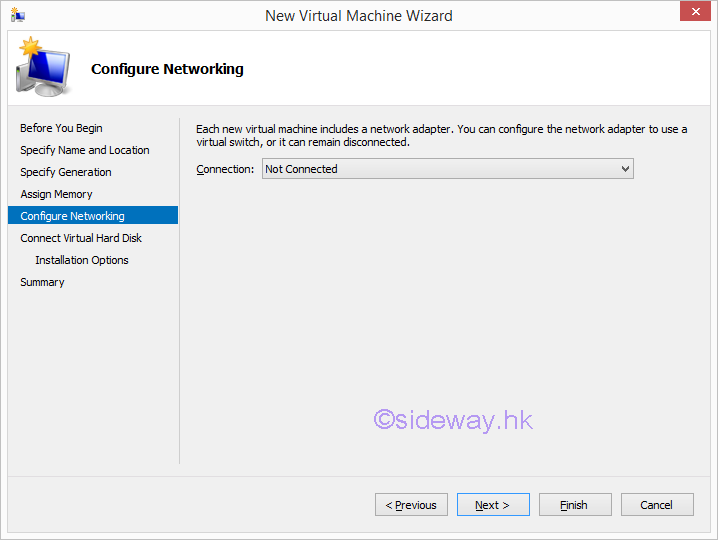
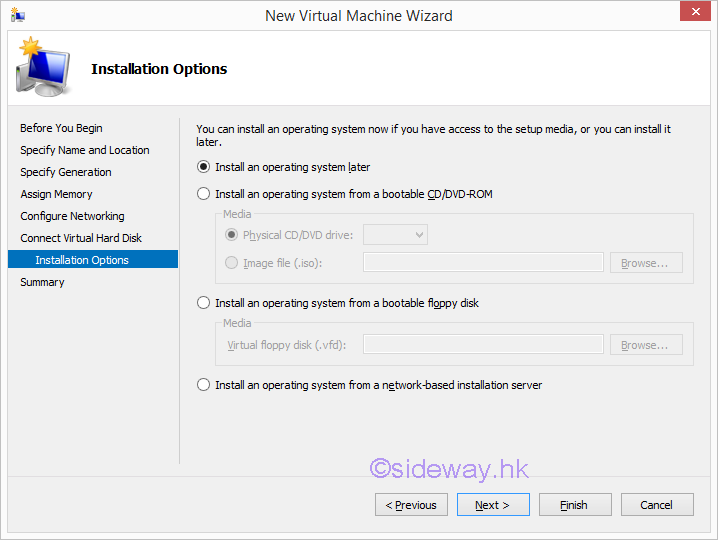
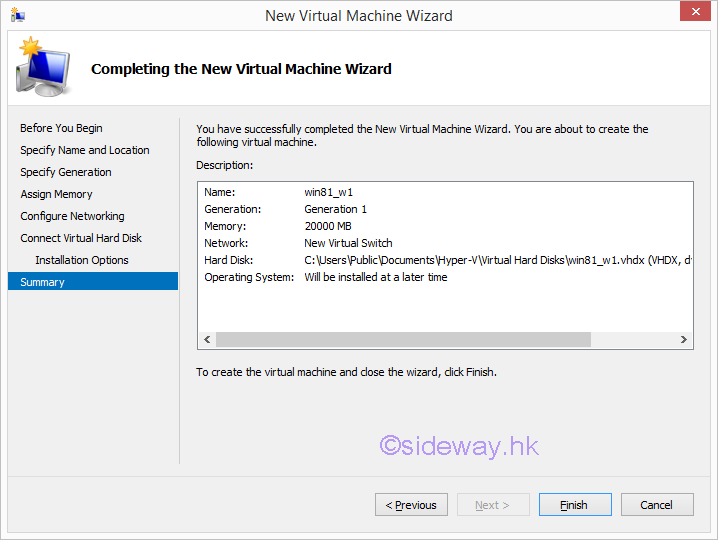
Add a Customized Virtual Machine to Hyper-V Host with Creating a VHD optionSteps to add a customized virtual machine to Hyper-V host with creating a VHD option.
©sideway |
Sideway BICK Blog 09/03 |
||||||||||||||||||||||||||||||||||||||||||||||||||||||||||||||||||||||||||||||||||||||||||||||||||||||||||||||||||||||||||||||