 Sideway
BICK BLOG from Sideway
Sideway
BICK BLOG from Sideway
|
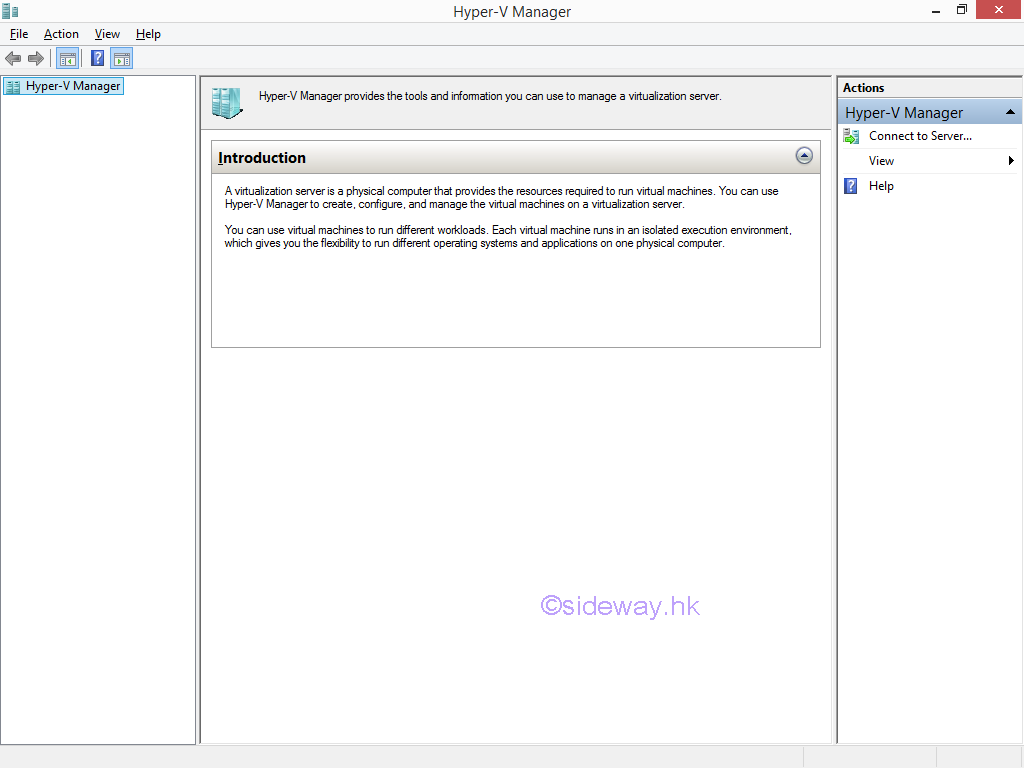
Link:http://output.to/sideway/default.asp?qno=170300006 Windows 8.1 Knowledge Base Hyper-V Installation of Hyper-V on Windows 8.1Client Hyper-V is the name for the virtualization technology that was introduced in Windows 8. Hyper-V in Windows 8.1 is used to replace those older virtualization applications from Microsoft, including Microsoft Virtual Server, Microsoft Virtual PC, and Windows Virtual PC. However the version of Hyper-V provided with Windows 8.1 does not support nested Hyper-V and the "Hyper-V Platform" will be grayed out. 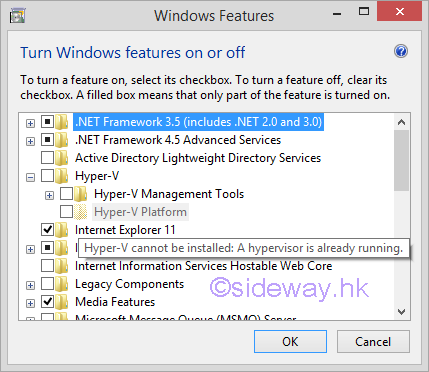
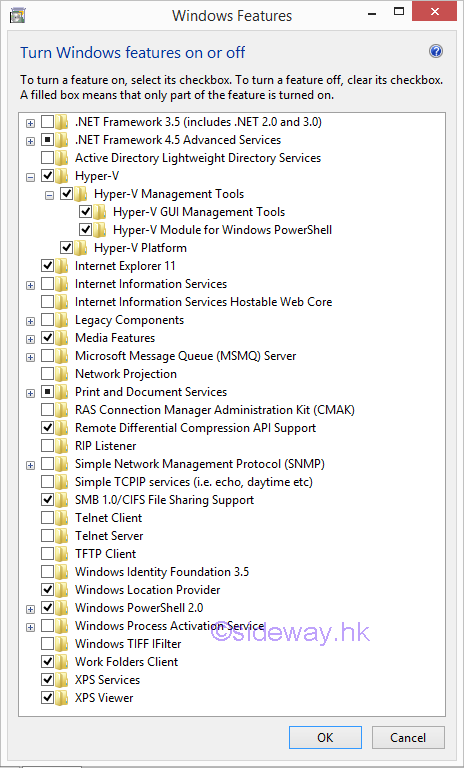
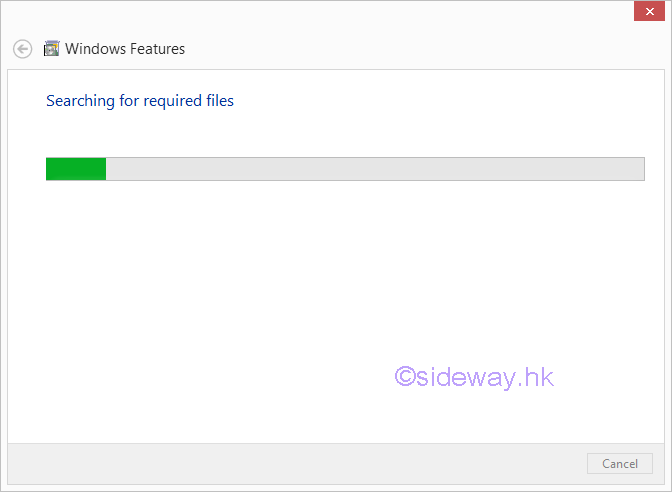
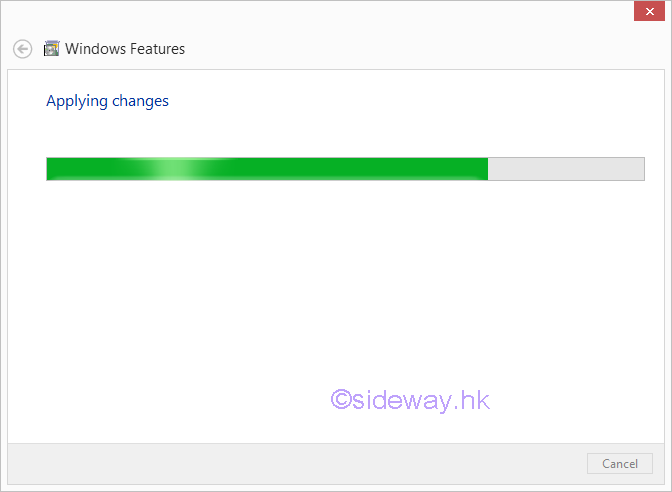
The Hyper-V program used in Windows 8.1 is designed as an optional "Windows Feature". In other words, Hyper-V can be installed through turn on the "Hyper-V" feature in "Windows Features" window. Turn on Hyper-V feature in Windows 8.1Turn on Hyper-V feature in Windows 8.1
©sideway |
Sideway BICK Blog 06/03 |
||||||||||||||||||||||||||||||||||||||||||||||||||||||||||||||||||||||||||||||||||||||||||||||||||||||||||||||||||||||||||||||


Copyright © 2000-2020 Sideway . All rights reserved Disclaimerslast modified on
26 January 2013