|
Link:http://output.to/sideway/default.asp?qno=131200012 Raspberry Pi Installation Beginners Guide 1
Raspberry Pi:
Beginners Guide
A Raspberry Pi is a credit-card sized computer board with a SoC unit
and limited resources, besides different types of software, some extra parts are needed in addition to the Raspberry
Pi board in order to make the Raspberry Pi board work.
Hardware:
Basic Conventional
Raspberry Pi System
The Basic Conventional Raspberry Pi System is the conventional computer with the
minimal configuration, that is the Raspberry Pi board, a keyboard, a display, and
together with a power supply, and a SD card with OS. A mouse is also needed
when Graphical User Interface (GUI) desktop is used. Besides, a network cable if
needed if network or internet connection is needed.
|
Item |
Description |
|
Raspberry Pi board |
Model A |
Model B |
|
Keyboard |
Needle for Input |
|
Display with Display cable of either HDMI or RCA plug |
Needed for Display |
|
Power Supply with Micro USB 2.0 plug |
Needed for +5v Supply |
|
SD Card |
Needed
for Operating System (OS) storage. The capacity of the SD card is better greater
than or equal to 4GB, 2GB or less is not recommended. |
|
USB 2.0 Hub USB 2.0 Hub |
Needed for more than one USB dervice |
Needed for more than two USB dervices |
|
Mouse |
Needed for Graphical User Interface (GUI) |
|
Network Cable |
Not Needed if no wired network connection |
Needed
for wired network connection |
Software:
There are a number of operating systems, that is Raspbian, Arch, RaspBMC, RISC
OS, OpenELEC and Pidora, available for the Raspberry Pi board.
The raw images of operating systems for Raspberry Pi can be found at
http://www.raspberrypi.org/downloads.
The raw images are much suitable for advanced users. Besides, these raw images,
there is another tailor-made software, New Out Of Box Software, which is
specially designed for first-time Raspberry Pi users. The New Out Of Box
Software can also be found at
http://www.raspberrypi.org/downloads
SD Card
A SD card is the key part of a Raspberry Pi system. The SD card slot on the
Raspberry Pi board provides the interface of initial storage for the Operating
System and startup up files needed by the bootloader.
New Out Of Box Software
The New Out Of Box Software (NOOBS) provides an easier way to
manipulate the
operating system used on the Raspberry Pi board. The NOOBS works like a boot
manager to assist the installation of different Operating System on the
Raspberry Pi and recovers the system if the system is broken. Besides, the NOOB
Software also provides a way to config the output display port of the Raspberry
Pi during the installation of the operating system.
Installation
of Operating System on SD card Using NOOBS:
-
Prepare the SD card for the installation of NOOBS
-
Download the Formatting Tool from SD Association at
https://www.sdcard.org/downloads/.
This formattin tool is used to ensure the entire SD card can be used by the Raspberry Pi
since the formatting tool of Windows can only format the partition that Windows
can read.
-
Extract the "setup.exe" file from the zipped file and
Install the downloaded Formatting Tool on a personal computer.
-
Insert an SD card with capacity 4GB or greater into the compatible SD reader of
the computer.

-
Run the Formatting Tool
on the computer.
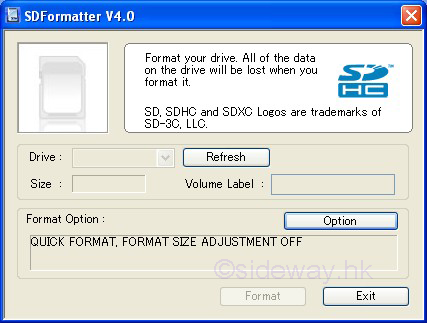
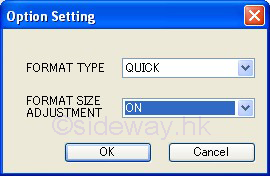
-
Click "Option" button to set "FORMAT SIZE ADJUSTMENT" option to "ON".
This is to ensure the formatted file system can be resized by the NOOBS on the
first boot.
-
Select the Correct Drive Letter that matches the inserted the SD card in "Drive"
option
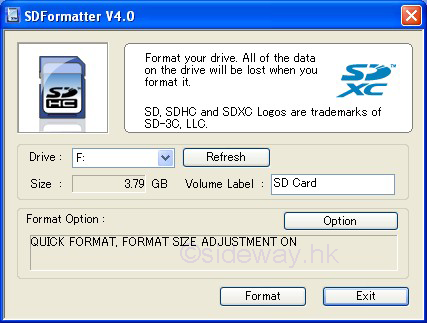
-
Click the "Format" button to format the SD card for the
installation of NOOBS.
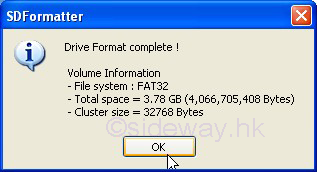
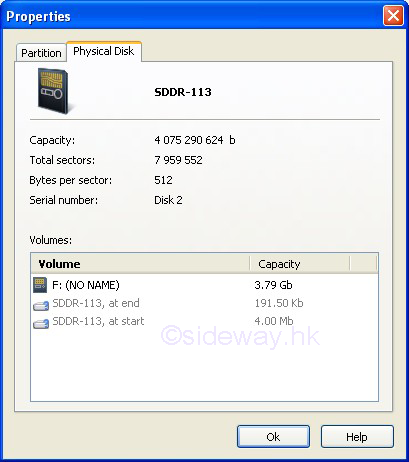
-
SD Card preparation completed.

-
Install or Save the
New Out Of Box Software package on the prepared SD card.
-
Download the
New Out Of Box Software from Raspberry Pi at
http://www.raspberrypi.org/downloads. The complete "offline and network
install" version is needed for offline installation.
-
Unzip the downloaded zipped file and copy all the extracted files and folders
onto the root of the prepared partition of the SD card accordingly.
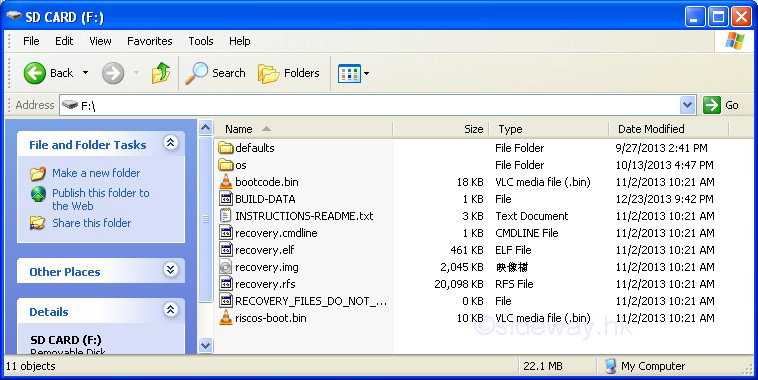
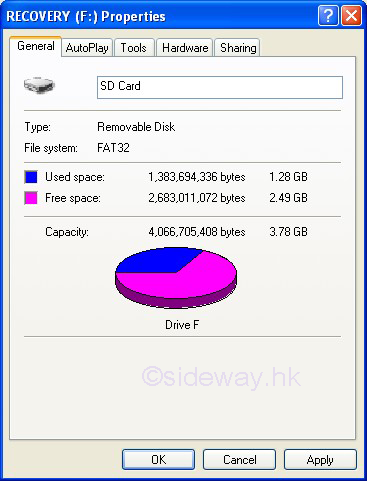
-
NOOBS preparation completed.
-
Setup or Install Operating System on the SD card
of the Raspberry Pi
-
Insert the SD card with the unzipped NOOBS package into the SD card slot of the
Raspberry Pi.
-
Power on and the first boot begin.
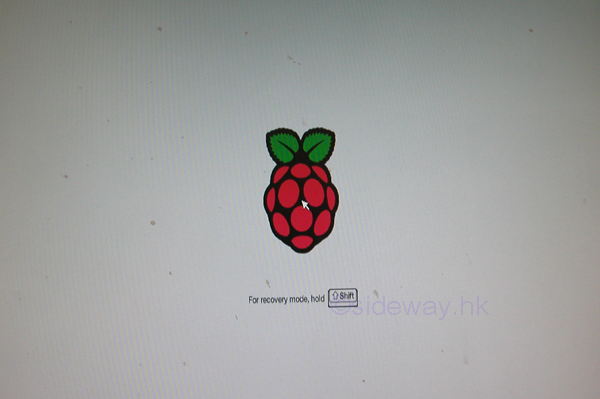
For the current firmware, a coloured splash screen is displayed after the GPU
firmware is loaded and the splash screen is only available on the HDMI port by
default.

-
The NOOBS application then display recovery mode screen for entering the
recovery mode by holding the "shift" key. The recovery mode screen is also
available on the HDMI port by default.
-
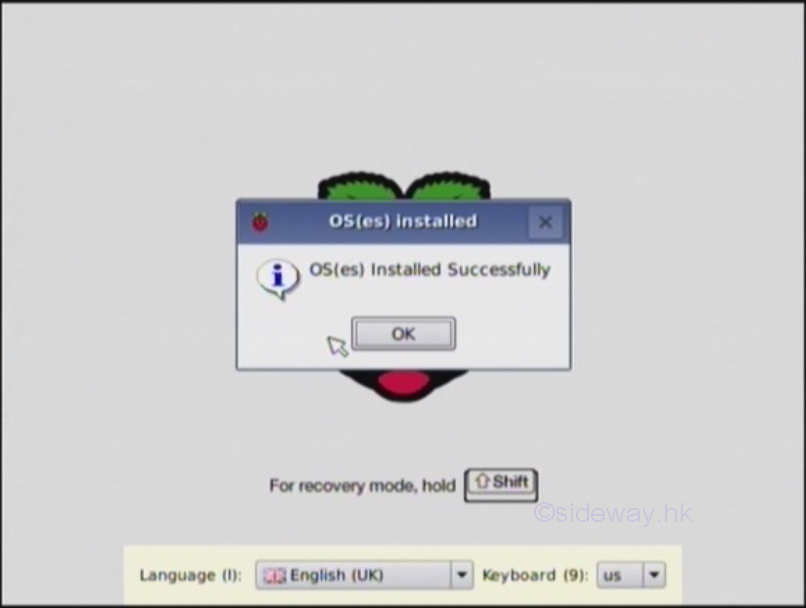
After the
recovery mode screen, the operation systems image installation screen will be displayed for the
selection of image installation. The image installation screen is also available
on the HDMI port by default. The operation systems image installation screen,
the recovery mode,
will also be activated when holding the "shift" key during normal booting.
-
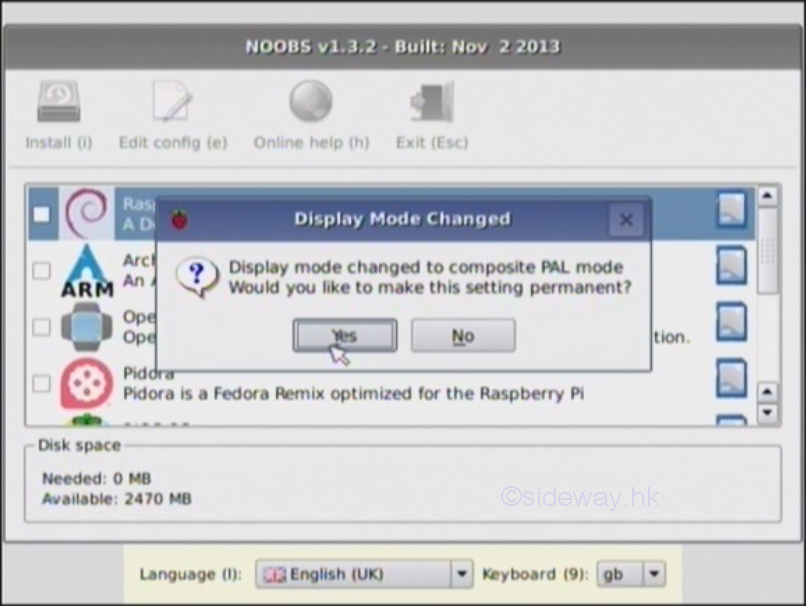
After the recovery mode screen is displayed, the NOOBS application can then be
able to accept the number key 1, 2, 3, or 4 for altering the display mode of the
Raspberry Pi to HDMI. HDMI safe, Composite PAL, or Composite NTSC mode
accordingly.
During the first boot, if there is only blank or black display when
the blinking green activity led next to the red power led goes out, then try pressing
either 1, 2, 3, or 4 on the keyboard can change the output mode of the Raspberry
Pi, where 1 and 2 is the HDMI output while 3 and 4 is the Composite RCA output.
The image installation selection screen can then be outputed accordingly. And a
"Display Mode Changed" message will be displayed also.
-
After the first boot and before installing the operating system, the SD card is
resized.
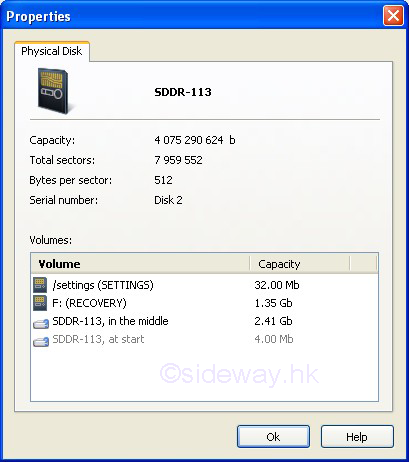
-
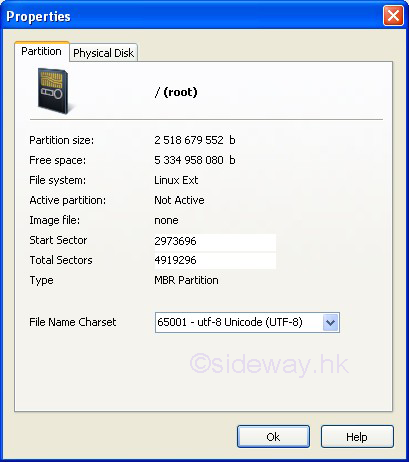
The original partition is renamed to "Recovery" and is resized to a smaller
capacity to contain the whole unzipped NOOBS package except the first command
"runinstaller" in the "recovery.cmdline" file is removed.
One more Linux Ext partition, named "SETTINGS", is created..


-
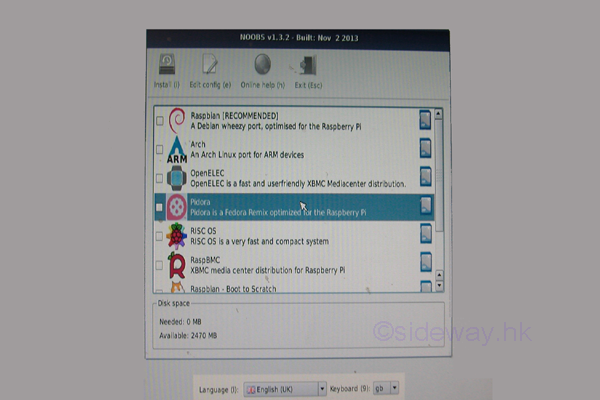
Select
user language, keyboard layout settings, both language and keyboard layout
settings and the selected display mode will be used for OS installation.
-
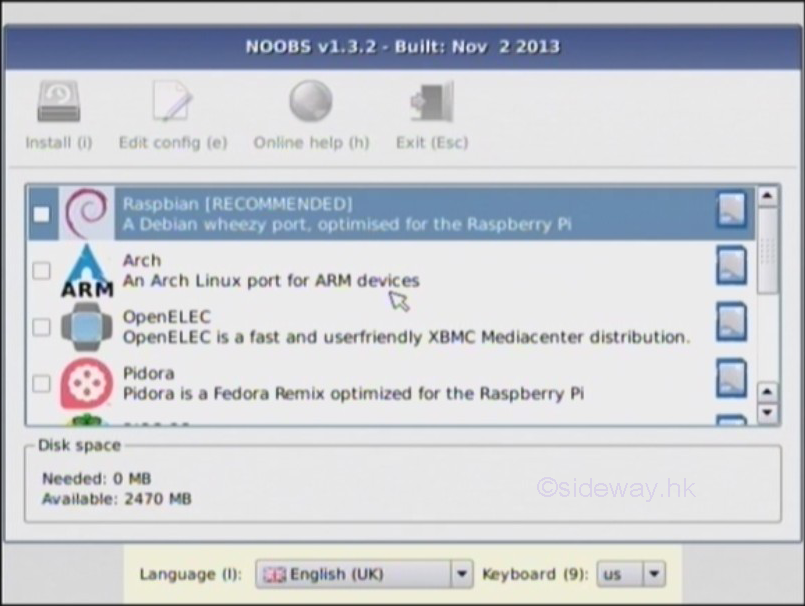
Actually more than one operating system (OS) from the list, generated from the
available operatiing systems in the "/os" directory, can be selected and an OS
Boot Selector will be displayed by the NOOBS application for selection.
But limited by the available space on the SD card, only one OS can be installed.
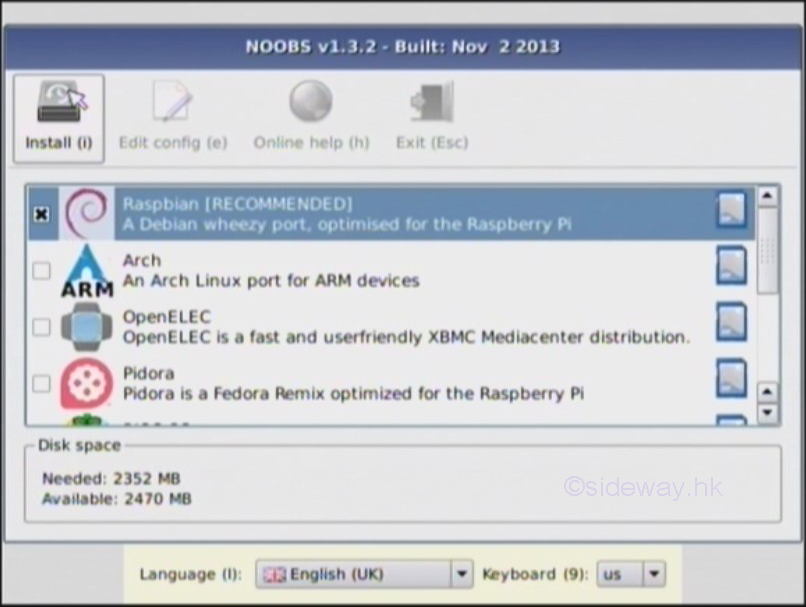
Use mouse, or up or down key to highlight the interested OS. Use right mouse
button, or space bar to select the OS. Check the recommended OS, Raspbian
and press "Install" button or "i" key to install the selected OS image onto the
SD card.
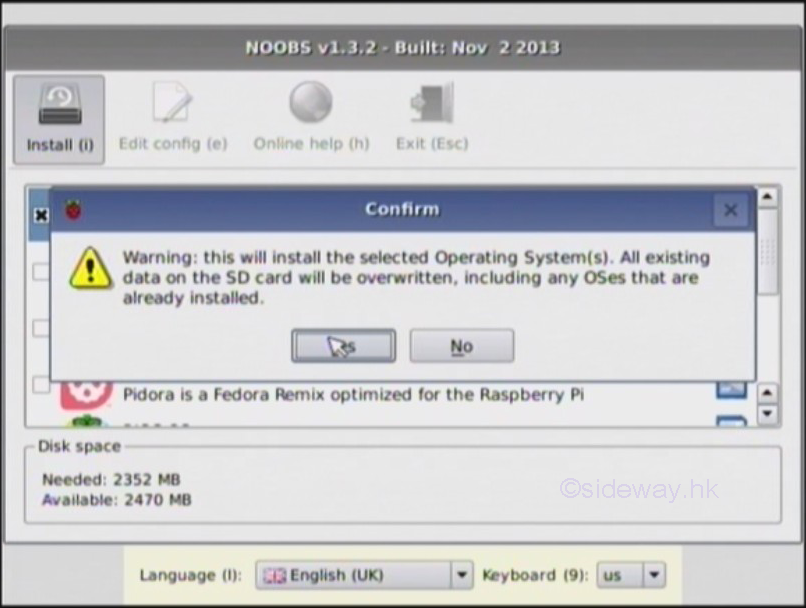
-
Press Yes button to proceed.
-
Set up the
SD Card for installing the selected opersating system.
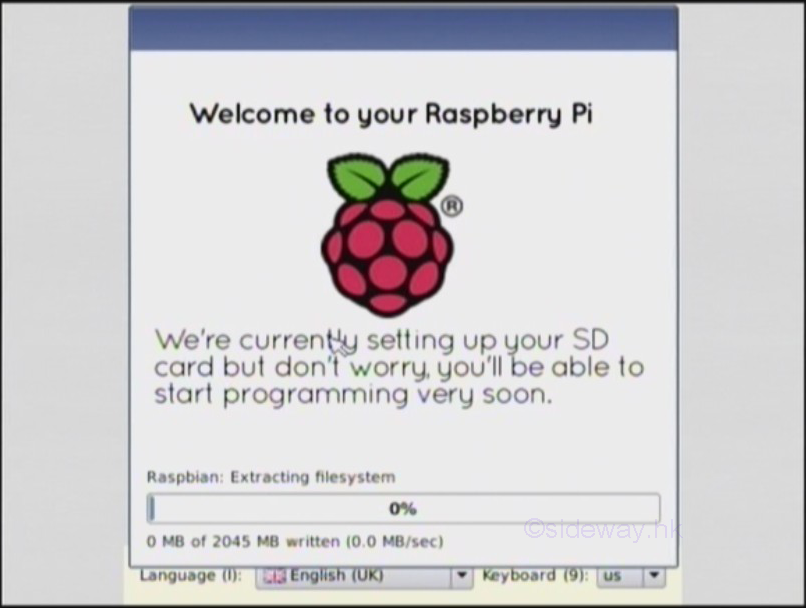
-
The selected operating system is installed on the SD card.
-
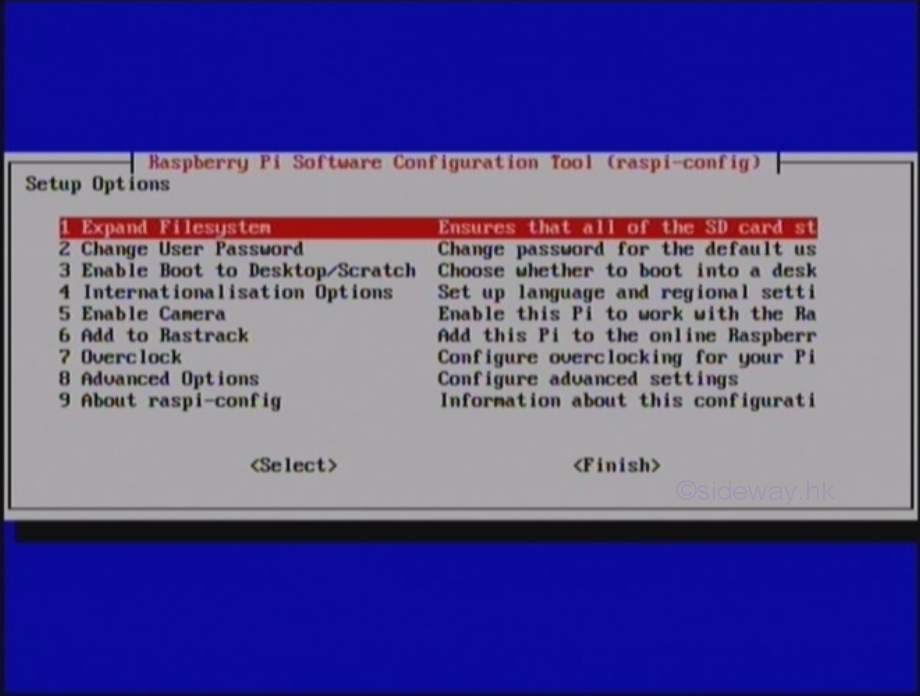
The
Raspberry Pi will then start to reboot into the installed operating system and enter
the software configuration tool automatically for the first time booting.
-
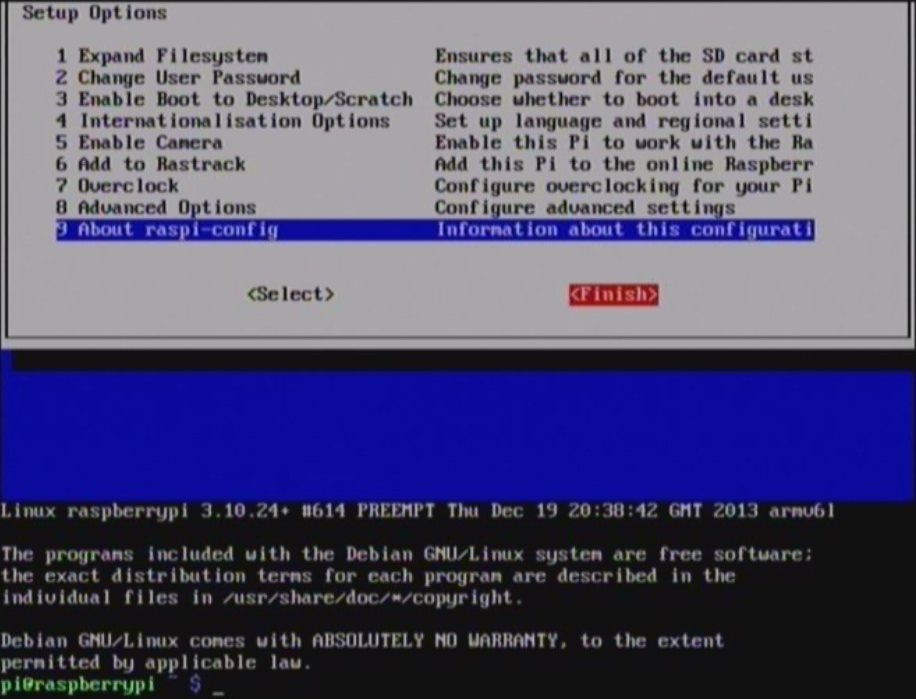
Tab Finish to
quit the Configuration Tool.

-
Configuration Tool end and return to the command prompt of the installed
operating system.
-
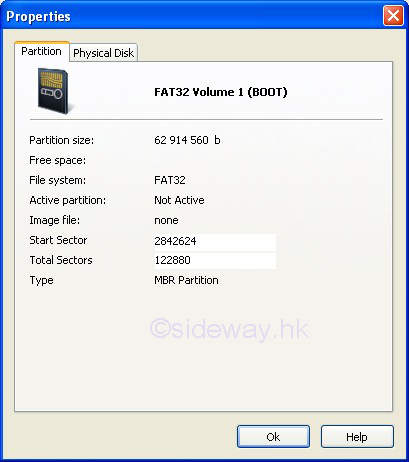
After the installation of the operating system, the SD card is
resized again.
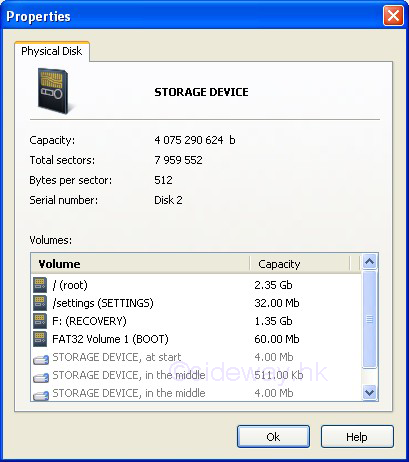
-
More partitions are created onto the SD card


|
|
 Sideway
BICK BLOG from Sideway
Sideway
BICK BLOG from Sideway
