Install or Save the Operating System package
on SD card.
-
Download the
corresponding Operating System Image distribution from Raspberry Pi at
http://www.raspberrypi.org/downloads. For example,
The Raspbian "2014-01-07-wheezy-raspbian.zip".
-
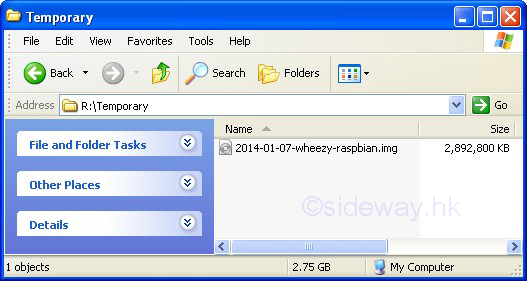
Unzip the downloaded zipped file and extract the image file, e.g.
2014-01-07-wheezy-raspbian.img, to a temp folder, e.g. R:\Temporary.
-
Although the img file is a disk image file, the image cannot be dragged and
dropped to the SD card directly as the NOOBS software package.
Download the
utility software to write the Operating System Image on the SD card from
http://sourceforge.net/projects/win32diskimager/ .
-
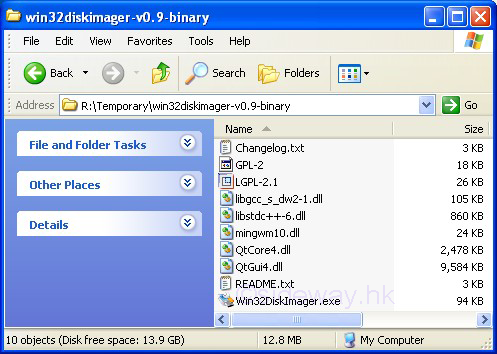
Unzip the downloaded zipped file and extract all files to a folder, e.g.
R:\Temporary\win32diskimager-v0.9-binary.
-
No installation is needed for the Win32DiskImager utility. The
"Win32DiskImager.exe" is already an executable.
-
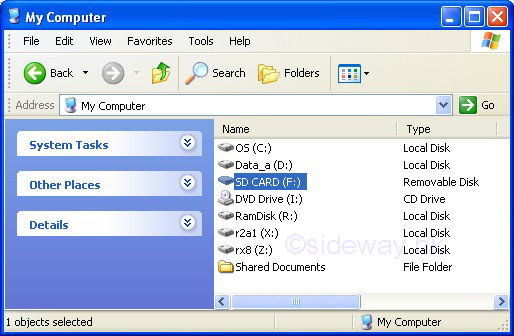
Insert an SD card with capacity 4GB or greater into an SD card reader and check
the assigned drive letter of the inserted SD card.
-
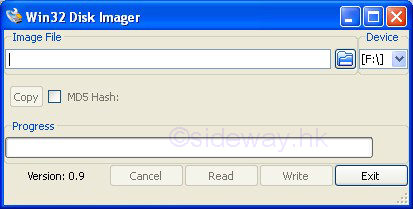
Double click to run the
"Win32DiskImager.exe" file.
-
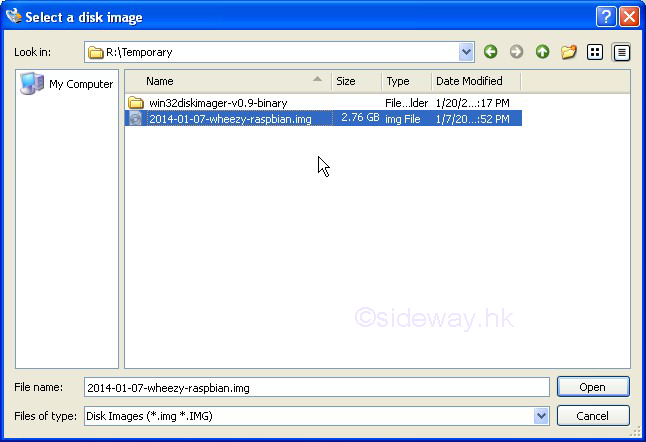
Select the extracted image file, e.g. "2014-01-07-wheezy-raspbian.img",
for the Image File to be written onto the SD card.
-
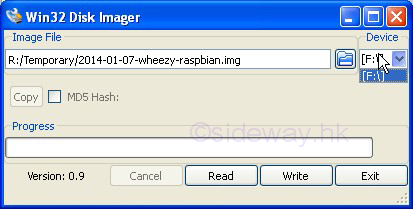
Select the
right drive, e.g. "F", for the Device to be written on.
-
Check again the entries for both "Image File" and "Device" because the
Win32DiskImager utility will destroy the data on either the "Image File" or
"Device" of the computer.
-
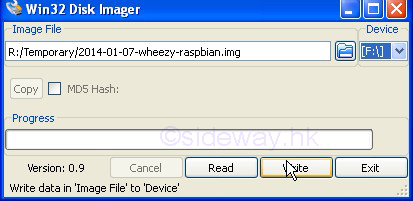
Click "Write" to copy the data in "Image File" and then write the data to the "Device".
-
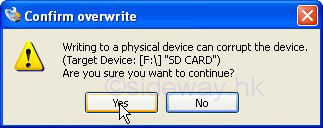
Click "Yes" to
confirm and proceed to write "Image File" to the "Device".
-
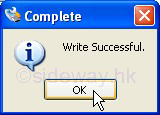
Click "OK" to acknowledge the completion of the writing process.
-
Click "Exit" to
exit Win32 Disk Imager.

-
Raspbian preparation completed.
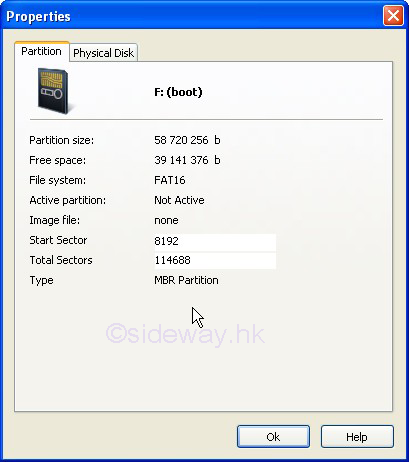
Only the partition that compatable with Windows are shown as following
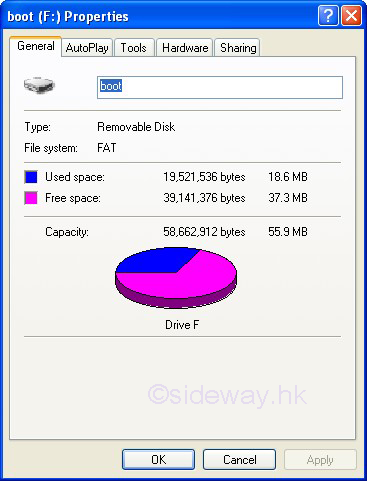
-
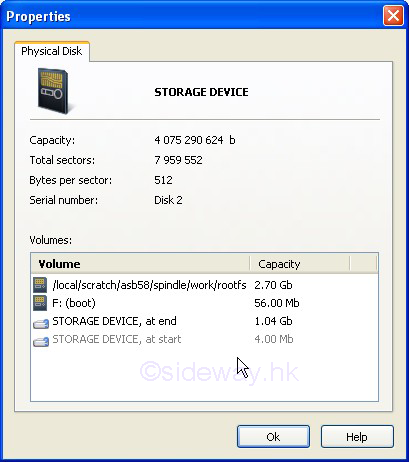
After the installation of
the Raspbian, the SD card is
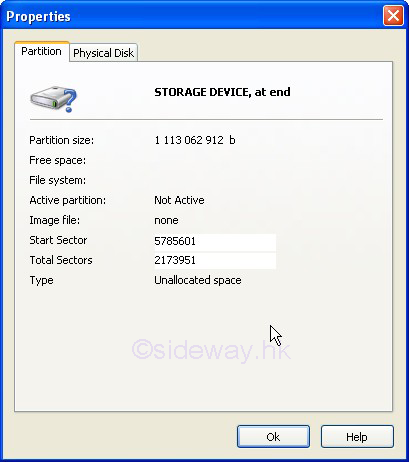
resized with an unallocated space in the middle.
-
The partitions on the SD card are.

 Sideway
BICK BLOG from Sideway
Sideway
BICK BLOG from Sideway
